Easy Gua Sha Routine! + The Techniques You Need To Sculpt Your Face
- Maya Malcolm
- Feb 18
- 4 min read
Aiming to boost blood circulation, facial gua from Chinese Medicine enhances collagen production and releases excess fluids from facial tissues. Consistent practice can lead to firmer skin and improved skin tone.
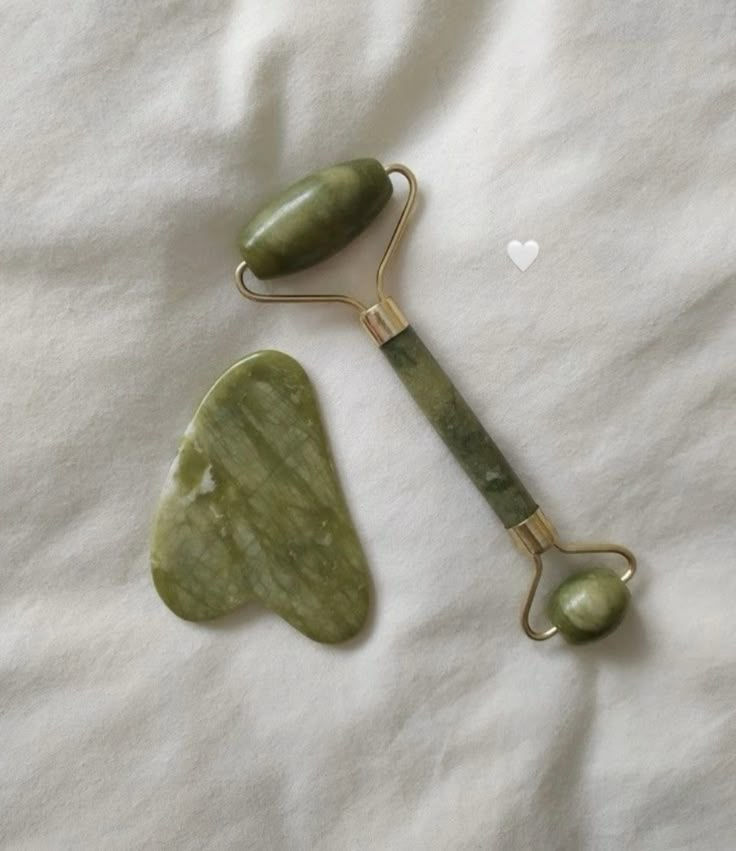
Choosing The Right Gua Sha Tool For You
We’ve selected the best tools for your Gua Sha routine. Select the Jade options for detoxification and the Rose Quartz for healing. These tools will be delicate on the eye area and suit all of the massage techniques we’ve outlined in the routines below!

Preparation for Gua Sha
Ensure both your hands and the Gua Sha tool are thoroughly clean before starting. This is crucial for maintaining skin hygiene and preventing any unwanted reactions.
Apply a generous amount of facial oil next. This step is essential to create a smooth base for the Gua Sha tool, preventing any pulling or damage to delicate facial tissues. Remember to extend this application to your neck and shoulders, as these areas are vital for promoting lymphatic drainage and blood circulation, key benefits of the Gua Sha technique.
For the technique, hold the Gua Sha tool at a 30 to 45-degree angle against the skin. Use gentle, upward and downward motions that follow the lymphatic drainage pathways. Your routine can vary from daily to weekly sessions, depending on your skin's reactions and needs. Find the balance where your skin feels rejuvenated without being overwhelmed.

Step By Step Gua Sha Routines For Each Skin Need
Forehead
Start at the center of your forehead just above your eyebrows.
Hold the tool at a 30 to 45-degree angle and glide it towards your hairline.
Repeat each stroke 3-5 times on both sides, ensuring even coverage.
Brows
Place the tool in the middle of your forehead, between your eyebrows.
Glide it gently along the brow bone towards the temples.
Repeat 3-5 times on each side.
Under Eyes
Gently glide the tool from the inner corner of your under-eye area towards the temple.
Use light pressure to avoid stretching the delicate skin.
Repeat 3-5 times on each side.
Cheekbones
Place the tool at the base of your nose, just under the cheekbone.
Glide it along the cheekbone towards the ear.
Use medium pressure to enhance the contouring effect.
Repeat 3-5 times on each side.
Jawline
Start at the center of your chin.
Glide the tool along the jawline towards the earlobe.
Apply medium pressure to help define the jawline.
Repeat 3-5 times on each side.
Neck
Begin at the base of your neck, just above the collarbone.
Glide the tool upwards towards your jawline.
Use gentle, long strokes to promote lymphatic drainage.
Repeat 3-5 times on each side.
Final Steps
Gently massage any remaining facial oil or serum into your skin.
Clean your Gua Sha tool with mild soap and water, then dry it thoroughly.

Step-by-Step Gua Sha Routine for Detox & Lymphatic Drainage
Neck
Start at the base of your neck, just above the collarbone.
Hold the tool at a 30 to 45-degree angle and glide it upwards towards your jawline.
Repeat each stroke 3-5 times on both sides, using gentle, long strokes to promote lymphatic drainage.
Sides of Neck
Place the tool behind your ear, near the hairline.
Glide it down towards the base of your neck.
This helps drain lymph from the face to the lymph nodes in the neck.
Repeat 3-5 times on each side.
Under Chin and Jawline
Start at the center of your chin.
Glide the tool along the jawline towards the earlobe.
Use gentle pressure to stimulate lymphatic flow.
Repeat 3-5 times on each side.
Cheekbones
Place the tool at the side of your nose.
Glide it outward under the cheekbone towards the ear.
This helps move lymph towards the lymph nodes.
Repeat 3-5 times on each side
Under Eyes
Gently glide the tool from the inner corner of your under-eye area towards the temple.
Use very light pressure to avoid stretching the delicate skin.
Repeat 3-5 times on each side.
Forehead
Start at the center of your forehead just above the eyebrows.
Glide the tool outwards towards the temples.
This helps move lymphatic fluid away from the center of your face.
Repeat 3-5 times on each side.
Final Neck Strokes
Finish by repeating the strokes on your neck to ensure that all lymphatic fluid is directed downwards to the lymph nodes for detoxification.
Glide the tool from the base of the ear down to the collarbone.
Repeat 3-5 times on each side.

Step-by-Step Gua Sha Routine for Skin Tightening
Forehead
Start at the center of your forehead just above your eyebrows.
Hold the tool at a 30 to 45-degree angle and glide it upwards towards your hairline.
Repeat each stroke 3-5 times on both sides, ensuring even coverage.
This helps lift the forehead and smooth fine lines.
Eyebrows
Place the tool in the middle of your forehead, between your eyebrows.
Glide it gently along the brow bone towards the temples.
Repeat 3-5 times on each side.
This technique helps lift and define the brow area.
Under Eyes
Gently glide the tool from the inner corner of your under-eye area towards the temple.
Use light pressure to avoid stretching the delicate skin.
Repeat 3-5 times on each side.
This helps reduce puffiness and tighten the skin under the eyes
Cheekbones
Place the tool at the base of your nose, just under the cheekbone.
Glide it along the cheekbone towards the ear.
Use medium pressure to enhance the contouring effect and tighten the skin.
Repeat 3-5 times on each side.
Jawline and Chin
Start at the center of your chin.
Glide the tool along the jawline towards the earlobe.
Apply medium pressure to help define the jawline and tighten the skin.
Repeat 3-5 times on each side.
Neck
Begin at the base of your neck, just above the collarbone.
Glide the tool upwards towards your jawline.
Use gentle, long strokes to promote lymphatic drainage and tighten the skin.
Repeat 3-5 times on each side.
Well I hope the techniques are easy for you to use.
Remeber to follow my social media
Snapchat/Tiktok/Instagram/Pinterest @Mayaxmalcolm
Comentarios